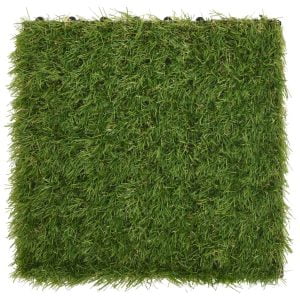


Forget Mowing, Embrace Beauty: Experience the Luxury of Artificial Grass Decking Tiles
Crafted with premium wood and featuring an innovative lock-in system, our artificial grass offers a low-maintenance solution for a stunning lawn. Enjoy the lush look of real grass without the hassle of mowing or fertilizing. The upgraded locks make assembly simple and ensure the turf stays secure, while the durable materials resist wear and tear.
Need a Helping Hand? We’re Here for You!
If you have any questions or encounter any problems during installation, our friendly customer support team is happy to assist you. We’re committed to your satisfaction and want you to love your new artificial grass!
USER GUIDE
- Step 1 – Prepare the surface
Although you can install interlocking deck tiles on dirt, rocks, or asphalt, there should be no large cracks,
bumps, or depressions that could cause the tiles to lie unevenly or “rock” on the surface. If the surface
is particularly rough or cracked, it’s advisable to level the surface with a suitable exterior patching
compound or filler. On hard dirt surfaces, sand, or gravel, the surface should first be leveled, well
compacted, and then covered with a weed control barrier. To provide good drainage under the tiles, the
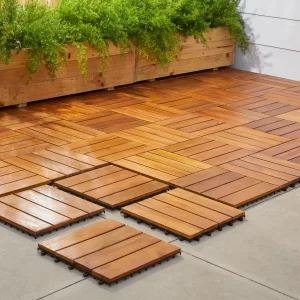
surface should normally slope slightly away from the outer wall of any structures. - Step 2 – Click the tiles in place
When installing interlocking deck tiles, it’s best to start laying the tiles from one of the outer corners of the
area you want to cover and work inwards towards the exterior wall. After you have positioned the first tile
in the corner of your workspace, take a second tile and align the connecting tabs on one edge of the first
tile with the corresponding connecting tabs on the second tile. Push the second tile down firmly so that
both tiles lock firmly together. Repeat this simple “snap in place” process, working in a diagonal direction
across the area.
If installing the tiles in an area confined by walls on opposite sides, a small gap must be left
against the wall to allow for the expansion of the tiles which occurs not only due to temperature changes but
also due to the expansion of the wood when it absorbs moisture. - Step 3 – Finishing touches
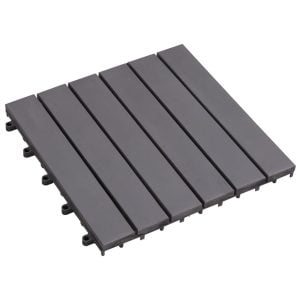
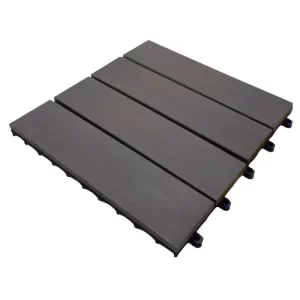
With the last row of tiles, you may need to cut some tiles to fit any remaining gaps. SwiftDeck Ipe wood
tiles can be easily cut with a handsaw, jigsaw or other power saw, taking care the saw does not contact
any of the screws in the base of the tile. You can also cut the tiles to fit around posts or pipes.
To provide a neat, professional finish to your design, straight edging is available which clips onto the edge
of the outer row of tile. Mitered corner edging is available (in pairs) for external corners. - Step 4 – Caring for your deck
We strongly recommended to put the tiles away or cover it during winter. Cleaning tiles often reduces
the rate at which the tiles will naturally fade when exposed to direct sunlight.